How to Calibrate a Thermocouple Correctly – A Practical Guide.
How to Calibrate Thermocouples Correctly! A practical guide with methods, tips, and common mistakes. Measure precisely, produce better.
Hi, from Stapelfeld.
In over 30 years of industry experience, we have consistently found that thermocouples only provide accurate measurements when they are calibrated regularly. Unfortunately, the importance of calibration is often underestimated—until inaccurate readings suddenly cause serious problems.
In this article, we'll explain why calibration is so important, what methods are available, and how to properly calibrate your thermocouples step by step.
Why is regular calibration important?
Thermocouples change over time—due to high temperatures, chemical influences, or mechanical stress. The problem is that the measured temperature may differ from the actual temperature without this being immediately apparent.
Typical consequences of incorrect calibration:
In industrial furnaces:
Incorrectly set temperatures can lead to material defects or increased energy consumption.
In food packaging:
Temperature fluctuations can cause packaging to be sealed inadequately because sealing tools are set too high or too low.
In quality assurance:
Inaccurate measurements can allow defective products to slip through quality control.
Our tip:
Schedule regular calibrations—this saves costs in the long run and prevents unnecessary production problems.
What calibration methods are available?
There are several ways to calibrate a thermocouple. The choice of the appropriate method depends on the required accuracy and on whether the calibration is to be performed during operation.
Comparative Calibration (Relative Calibration):
A thermocouple is compared to a high-quality reference thermometer and placed a short distance apart from it in a homogeneous temperature source.
Advantage: Fast, easy to implement, and cost-effective.
Disadvantage: Deviations can be detected but not corrected immediately.
Scope of Application: Regular inspections in production.
Fixed-point calibration according to the ITS-90 international temperature scale:
The thermocouple is tested at a precisely known temperature (e.g., the freezing or boiling point of water).
Advantage: High accuracy, since the reference temperature (fixed point) is clearly defined.
Disadvantage: Performed only by national, certified laboratories; costly and time-consuming.
Scope of application: Precision measurements in laboratories and research facilities.
Our tip:
When it comes to quick checks in the workplace, comparative calibration is usually sufficient. For high accuracy requirements, fixed-point calibrations or dry blocks are the better choice.
Step-by-Step Guide: How to Calibrate a Thermocouple Correctly
What we need:
✔ A functioning thermocouple
✔ A calibrated, precise reference thermometer or a calibrated temperature source
✔ A dry block, a liquid bath, or a defined fixed-point temperature
✔ A voltmeter (if necessary)
Step 1: Check the thermocouple
We check the thermocouple for proper function, external damage, and electrical connections. We take a close look at the sensor—are there any signs of corrosion, breaks, or kinks? We check that the connections and plugs are secure. If there is a protective tube: Is it clean or dirty?
Our tip:
A damaged thermocouple will not provide reliable readings, even after calibration. It’s best to replace it in a timely manner!
Step 2: Set the reference temperature
We decide on the temperature range in which we want to calibrate. If possible, we use a temperature close to that of the intended measurement application.
Examples of fixed-point calibration:
0 °C (ice water) – 100 °C (boiling water; note the elevation!) Defined temperatures using a dry block or liquid bath
Our tip:
For critical applications, always select at least two calibration points—one in the lower range and one in the upper range of the spectrum to be measured.
Step 3: Insert the thermocouple into the calibration source
We place the thermocouple in the reference temperature source. We make sure that the entire measuring end is within the temperature zone—with an immersion depth of at least 10 times the probe thickness. We wait until the temperature stabilizes.
Our tip:
The smaller the temperature difference between the measurement point and the surrounding environment, the more accurate the calibration.
Step 4: Read the measurements and determine the deviation
We compare the thermocouple reading with the reference temperature and record the deviation for each calibration point.
| Setpoint (°C) | Measured value (°C) | Deviation (°C) |
|---|---|---|
| 0°C | 0.4°C | +0.4°C |
| 100°C | 99.2°C | -0.8°C |
If the deviation is too large, the thermocouple must be calibrated or replaced.
Our tip:
Manufacturers often specify a tolerance. Is our measurement deviation above that? If so, it's time for a replacement or a correction!
Step 5: Schedule Documentation & Regular Calibration
We save or record the results and set a calibration interval—depending on the application and requirements.
Recommended calibration intervals:
High-precision measurements: Every 3 to 6 months
Standard industrial applications: Once a year
Harsh environments (high temperatures, corrosive media): Every 3 to 6 months.
Our tip:
It’s better to calibrate once too often than once too rarely—errors often creep in unnoticed!
Our expert tip:
Optimize Calibration the Smart Way
Precise zero-point calibration with ice water:
If we use a mixture of ice cubes and distilled water in an insulated container, we obtain an exact 0°C reference.
Longer service life with protection tubes:
Do not expose thermocouples directly to hot or corrosive environments—consider using suitable protection tubes if necessary.
Keep an eye on temperature drift:
Let's compare older calibration data—if the deviations increase over time, we should replace the thermocouple.
More information that might interest you
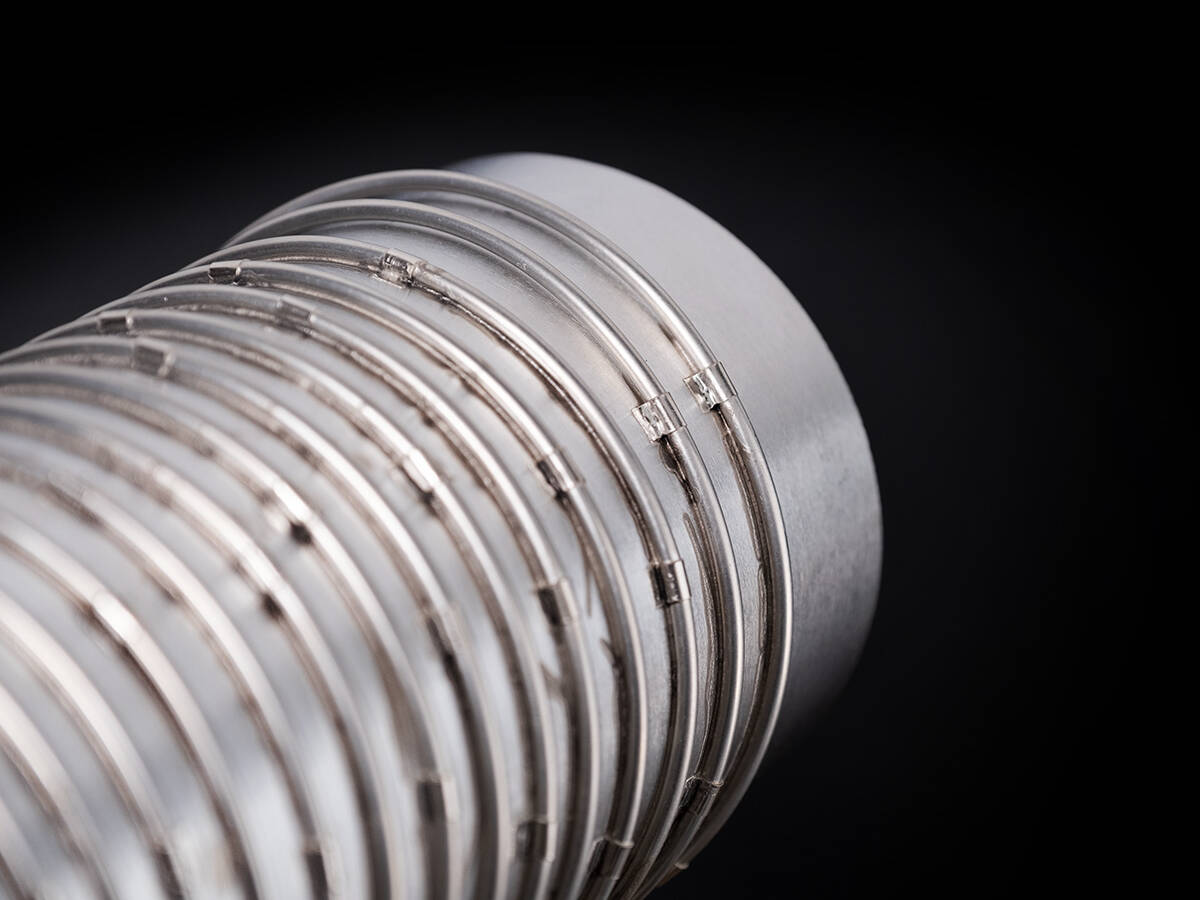
Installation Methods for Sheath Heating Cables
This is the excerpt for the preview and the preview text at the top
0 Comments8 Minutes
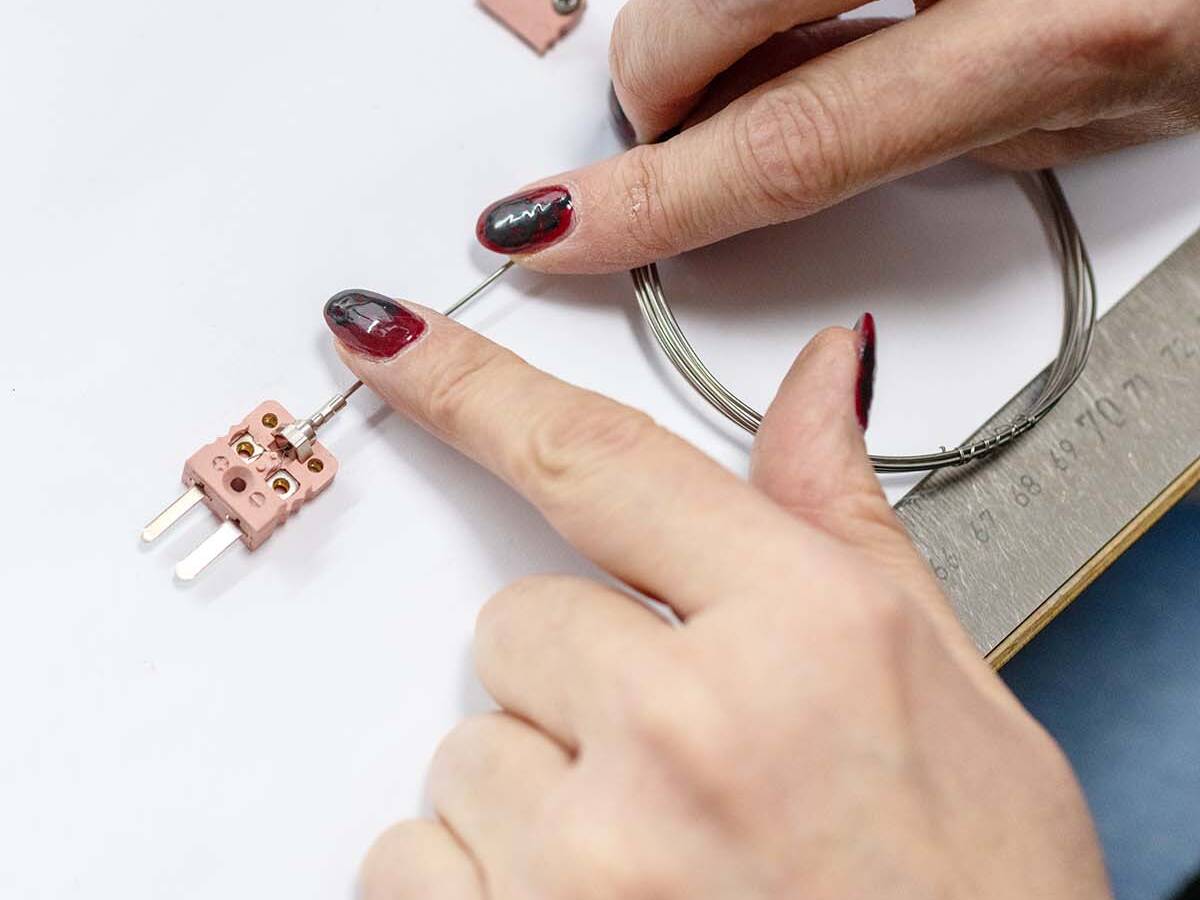
Connections, Installation, and Quality Assurance: From Heating Cables to Reliable Heating Solutions.
This is the excerpt for the preview and the preview text at the top
0 Comments5 Minutes
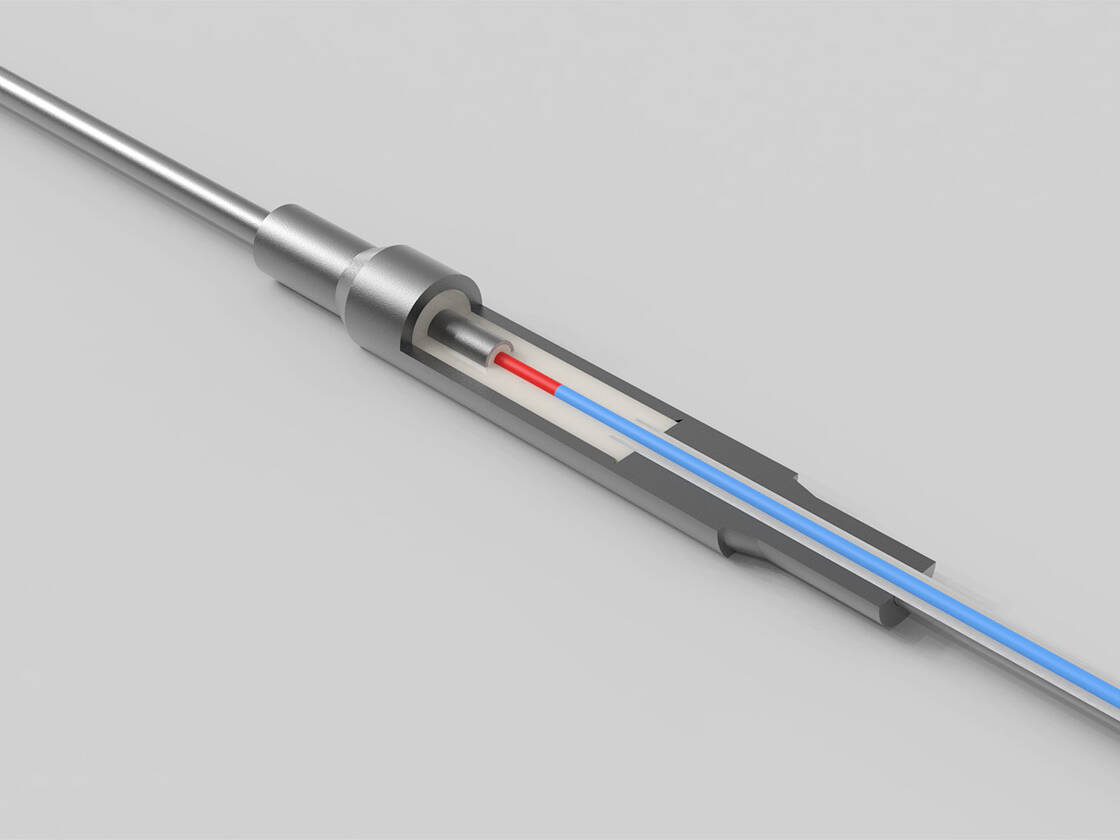
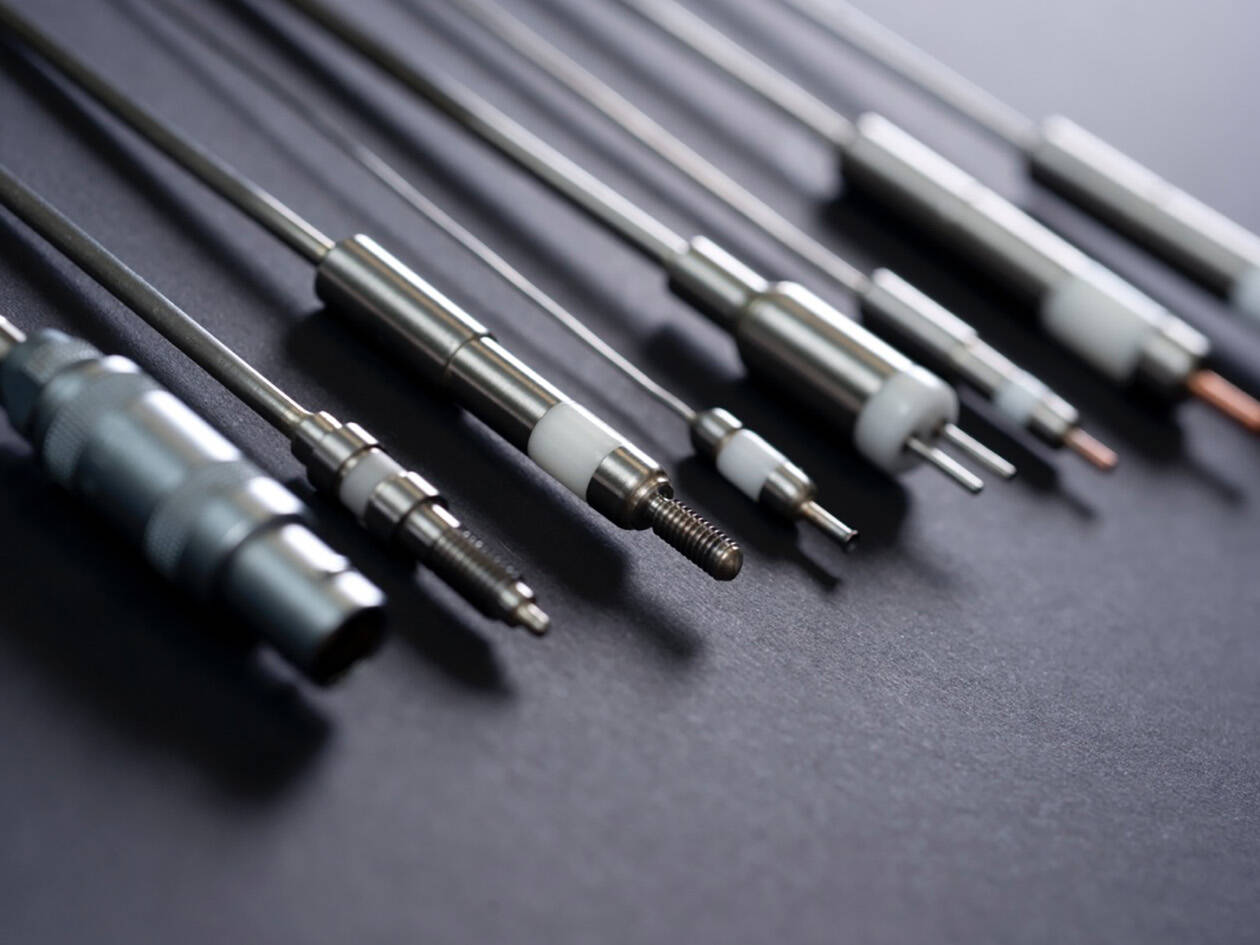
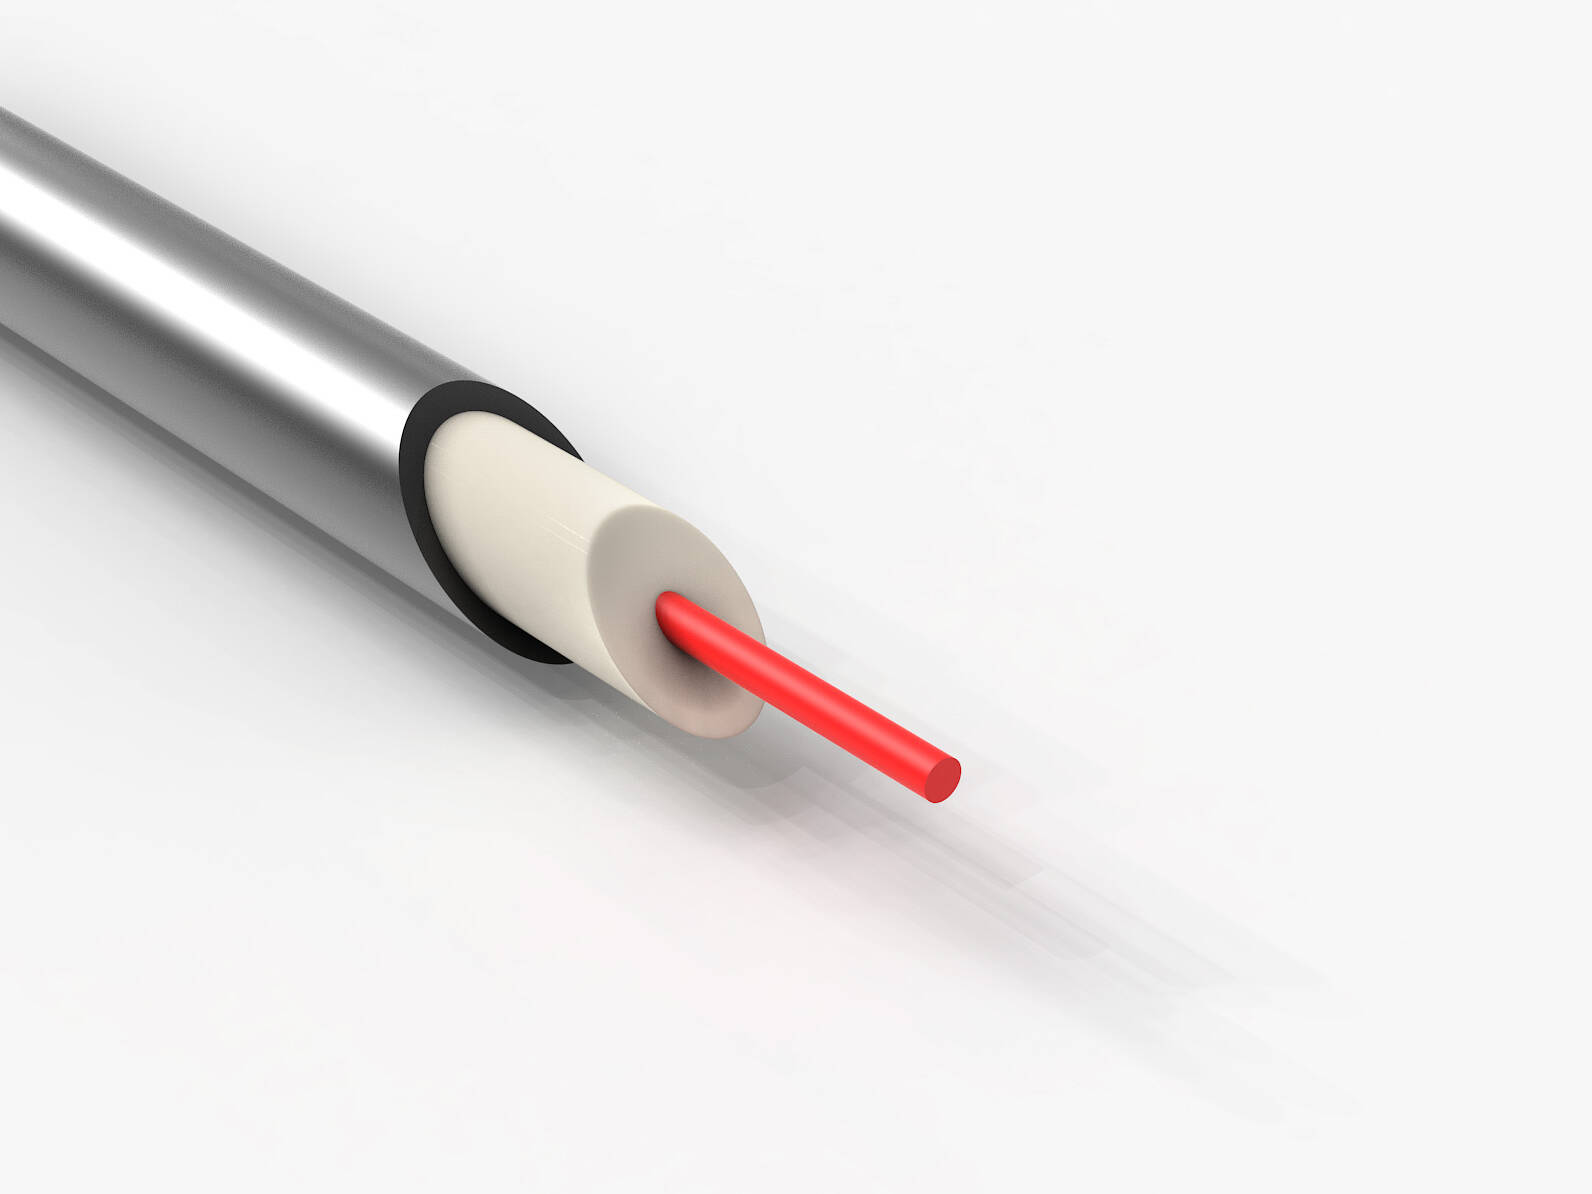
Mineral-insulated sheathed heating cables with attached, seamless cold ends
Mineral-insulated heating cables without cold ends can be used reliably up to about 400 °C. If…
0 Comments9 Minutes
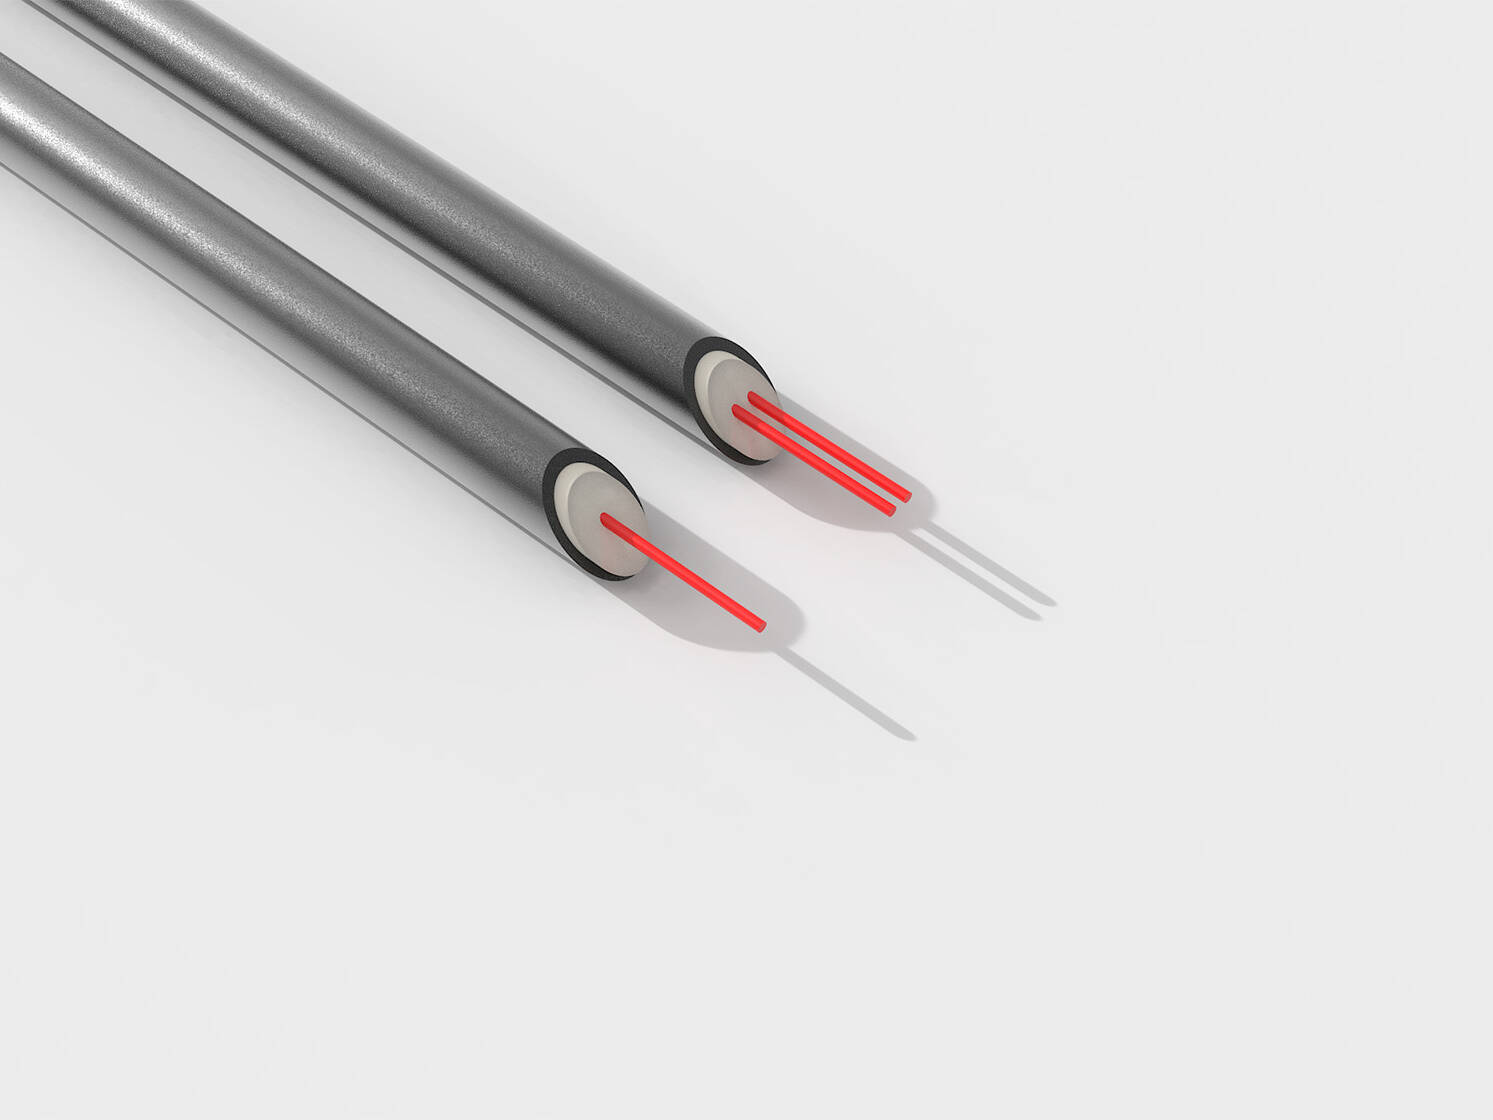
Single- and two-conductor sheathed cables: The foundation for your heating solution.
Mineral-insulated sheathed heating cables—single-conductor or twin-conductor? This fundamental decision…
0 Comments9 Minutes
Mineral-Insulated Sheathed Heating Cables: Technical Guide for Technicians & Engineers.
In demanding industries such as aerospace, semiconductor technology, and high-end mechanical engineering…
0 Comments10 Minutes
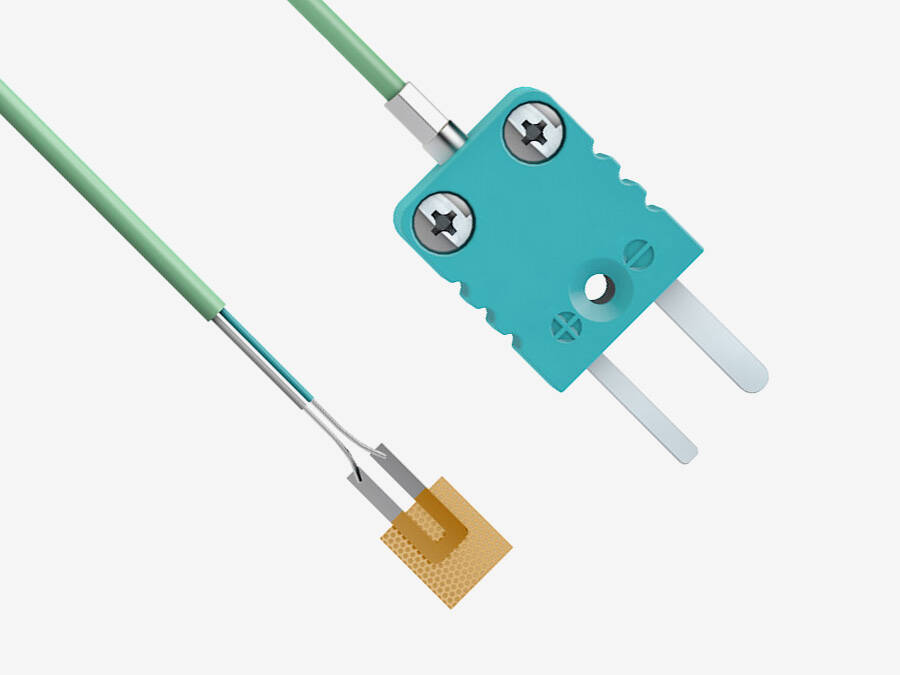
How to Choose the Right Thermocouple – A Guide for Industry.
Which Thermocouple Is Right for You? A Practical Guide to Types, Materials, &…
0 Comments7 Minutes
Focus on Thermocouples – Why Precise Temperature Measurement Is Important.
Accurate temperature measurement is not just an option—it is essential. Thermocouples are far…
0 Comments5 Minutes


